

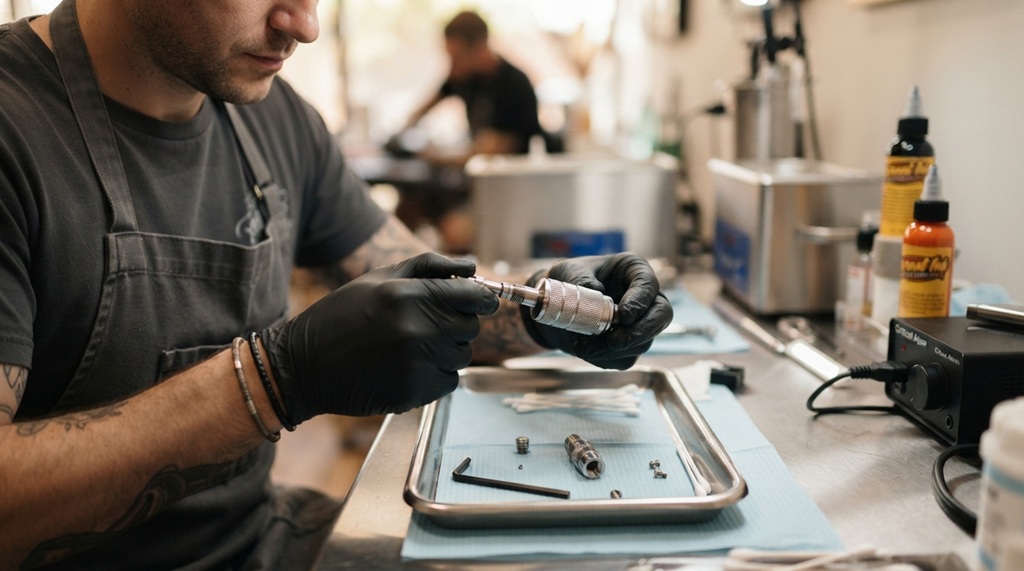

Cleaning tattoo grip needles means removing all blood, ink, and tissue debris right after use, then disinfecting the grip with a hospital-grade solution before sterilization. Skip a step, and you risk cross-contamination. That risk isn’t just about client safety. It can end a career.
Every tattoo artist learns the basics in training. But grips get reused, autoclaves get rushed, and shortcuts creep in over time. This guide breaks down the exact cleaning process, the mistakes that cause contamination, and the habits that separate a safe studio from a risky one.
Whether you’re a new apprentice or a seasoned artist tightening up your routine, this article gives you a clear, repeatable system you can trust.
Why Proper Grip Cleaning Matters So Much
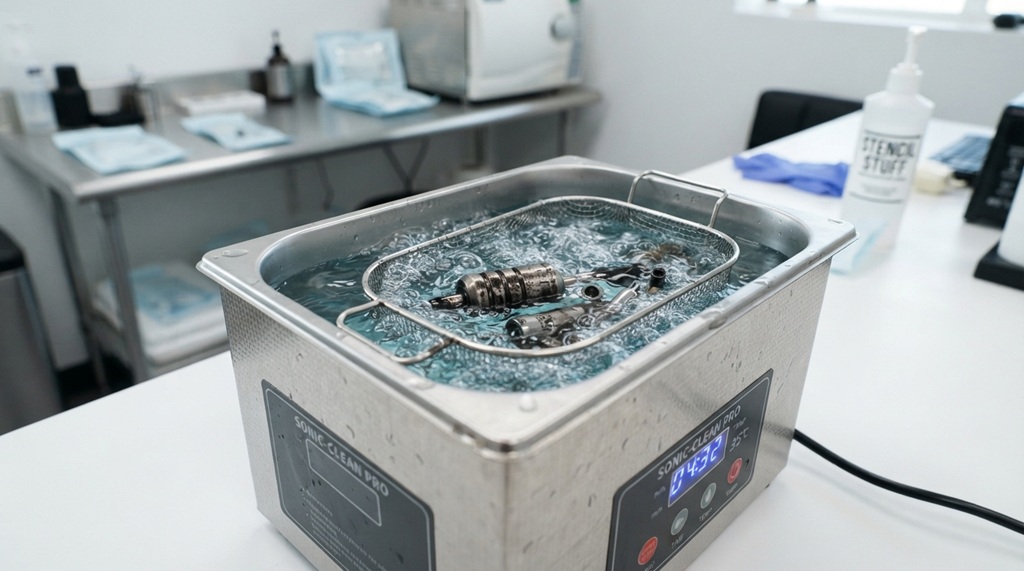
Dirty grips spread bloodborne pathogens between clients. That single fact is why health departments treat tattoo hygiene as seriously as they do medical equipment.
Blood can carry hepatitis B, hepatitis C, and other pathogens. These viruses can survive on surfaces for hours or even days under the right conditions, according to industry health guidelines. A grip that looks clean can still carry invisible biological material in the threads of its grooves.
This isn’t only about your client’s safety. Contaminated equipment puts you at risk too. Needlestick injuries and skin contact with dirty grips have caused real infections in tattoo artists. A clean process protects everyone in the room.
Essential Sterilization Equipment & Setup
Before handling any used equipment, assembling the proper sanitation supplies is essential for maintaining strict hygiene protocols and streamlining your workflow without compromising safety standards. Remember that clean tools are only as effective as the environment in which they are processed; ensuring your entire prep area is thoroughly disinfected prior to handling grips prevents cross-contamination from the start. To optimize your entire setup before diving into sterilization, set up a tattoo workstation safely and efficiently.
Essential Cleaning Supplies
- Puncture-resistant gloves (nitrile, not latex, to avoid allergy issues)
- An enzymatic cleaning solution or hospital-grade disinfectant
- A soft-bristle brush dedicated only to grip cleaning
- Distilled water for rinsing
- Autoclave-safe sterilization pouches
- A functioning autoclave with a current spore test log
Why Enzymatic Cleaners Matter
Enzymatic cleaners break down organic material like blood and tissue at a molecular level. Regular soap doesn’t do this. It just pushes debris around instead of dissolving it. That difference matters because dried protein can shield bacteria from your disinfectant later in the process.
Step-by-Step Process to Clean Tattoo Grip Needles
Cleaning a grip properly takes four stages: pre-soak, scrub, disinfect, and sterilize. Skipping any stage leaves the equipment unsafe to reuse.
Step 1: Pre-Soak Immediately After Use
Soak the grip in an enzymatic solution within minutes of finishing the tattoo. Waiting too long lets blood and ink dry onto the surface, which makes removal far harder. Most enzymatic solutions need 10 to 20 minutes of soak time to break down organic residue fully.
Step 2: Scrub Every Groove and Thread
Use your dedicated brush to scrub every visible surface, including the threads where the needle bar screws in. This is the step most artists rush. Debris hides in these small gaps, and a quick rinse won’t remove it. Take your time here.
Step 3: Rinse and Inspect
Rinse the grip with distilled water and inspect it under bright light. Look closely for any leftover ink, blood, or debris. If you see anything, repeat the scrub step. Never move forward with visible contamination still present.
Step 4: Disinfect Before Sterilization
Wipe the grip down with a hospital-grade disinfectant before it goes into the autoclave. This step kills surface pathogens and prepares the equipment for the sterilization process. Disinfecting is not a substitute for sterilization. It’s a preparation step, not the final one.
Step 5: Sterilize in an Autoclave
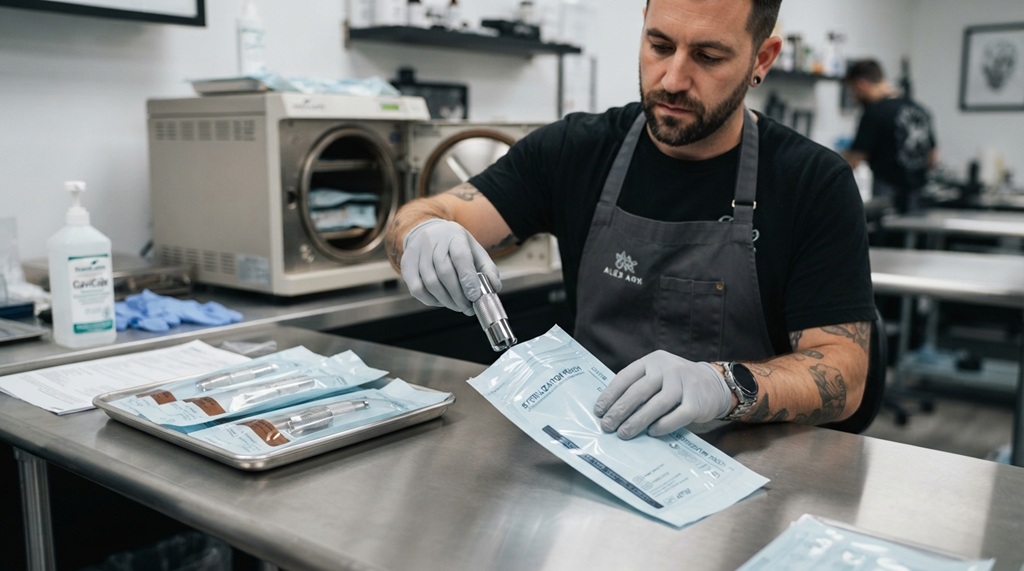
Package the clean, disinfected grip in an autoclave pouch and run a full sterilization cycle. Most autoclaves need 20 to 30 minutes at the correct temperature and pressure to achieve sterility. Check your specific machine’s manual, since cycle times vary by model.
Common Mistakes That Cause Contamination
Most contamination cases trace back to a handful of repeated errors. Knowing them helps you catch bad habits before they cause harm.
Reusing Grips Without Full Sterilization
Some artists disinfect a grip and skip the autoclave step entirely, especially during busy days. Disinfectant alone doesn’t kill all spores and pathogens. Only proper sterilization does that.
Using the Wrong Cleaning Brush
A brush used for grip cleaning and general studio cleanup can carry contaminants between tasks. Keep grip brushes separate, labeled, and stored away from other supplies.
Skipping Autoclave Maintenance
An autoclave that isn’t tested regularly may not actually be sterilizing anything. Spore testing, done weekly or as required by local health codes, confirms your machine still works. Many artists assume their autoclave is fine simply because it runs. That assumption has led to real health code violations.
Not Tracking Sterilization Cycles
Without a log, you can’t prove a grip was properly sterilized if a client ever raises a concern. A simple sterilization log protects both your client and your license.
How to Choose Between Disposable and Reusable Grips
This choice affects your entire cleaning workflow, so it’s worth thinking through before you build your process around one option.
Disposable Grips
Disposable grips come pre-sterilized and get thrown away after a single use. They remove the cleaning burden entirely and reduce contamination risk to nearly zero, since there’s no reuse involved. Many studios have shifted toward disposables for this exact reason.
Reusable Grips
Reusable grips cost less over time but demand strict cleaning discipline. They’re a solid choice for studios with a reliable sterilization routine and enough staff to maintain it consistently. If your studio can’t commit to the full four-step cleaning process every single time, disposables are the safer bet.
A Habit Most Artists Overlook: The “Cool-Down Check”
Here’s an angle rarely mentioned: check your autoclave’s internal temperature log after each cycle, not just the beep at the end. Many autoclaves signal “complete” based on time elapsed, not confirmed temperature held throughout the cycle. A power flicker or door seal issue can interrupt the cycle without triggering an error.
Build a habit of glancing at the printed or digital temperature log for every load. This single check catches equipment failures that a rushed artist would otherwise miss completely.
Frequently Asked Questions
How often should tattoo grips be sterilized?
Every grip must be sterilized after every single use, with no exceptions. There’s no safe way to reuse a grip on a new client without a full sterilization cycle in between.
Can I use alcohol wipes instead of an autoclave?
No. Alcohol wipes disinfect surfaces but don’t achieve true sterilization. Bloodborne pathogens and spores can survive alcohol exposure, so an autoclave cycle is still required.
How long does it take to clean and sterilize a grip properly?
The full process, from pre-soak to a completed autoclave cycle, typically takes 45 minutes to an hour. Rushing any stage increases contamination risk significantly.
Are disposable grips actually safer than reusable ones?
Disposable grips lower contamination risk because they skip the reuse cycle entirely. Reusable grips can be just as safe, but only with a strict, consistently followed cleaning routine.
What’s the biggest sign a grip wasn’t cleaned properly?
Visible residue in the threads or grooves is the clearest warning sign. If you see any debris after scrubbing, the grip isn’t ready for disinfection or sterilization yet.
Conclusion
Clean tattoo grip needles come down to one thing: never skipping a step. Pre-soak, scrub, rinse, disinfect, and sterilize, every single time, for every single client. Add regular autoclave maintenance and a habit of checking your temperature logs, and you’ll build a studio routine that protects your clients and your reputation.
Contamination isn’t caused by one big mistake. It’s usually caused by small shortcuts that build up over time. Stay consistent, stay thorough, and your equipment will never be the reason something goes wrong.