

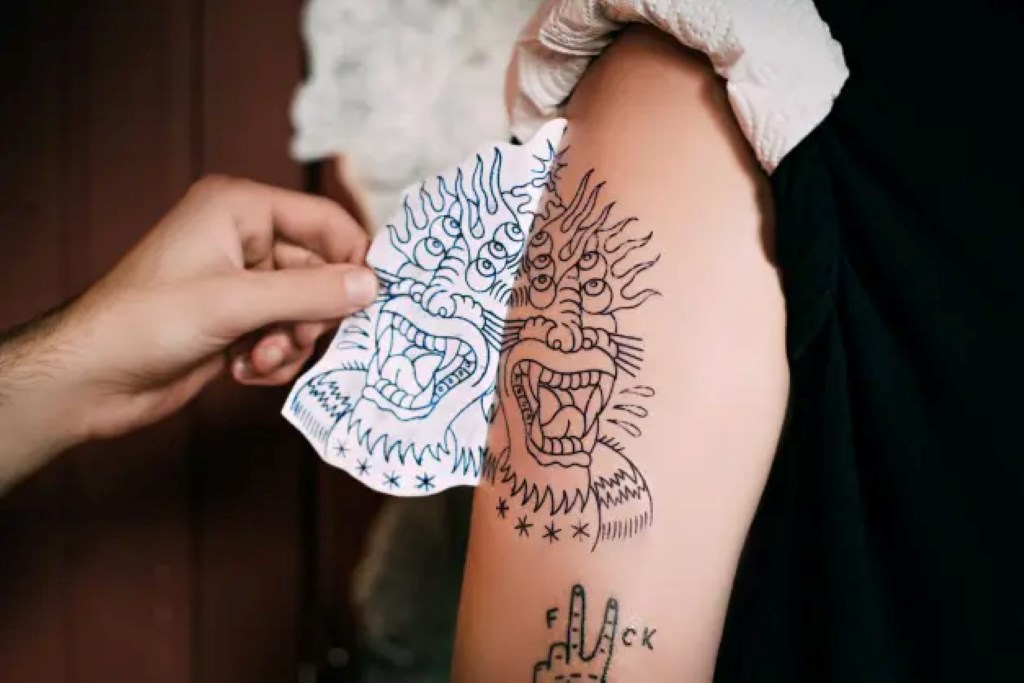

Learning how to use tattoo transfer paper correctly helps artists create clean, accurate, and professional tattoo stencils. A properly transferred stencil reduces mistakes and improves design placement before tattooing begins. According to industry research, most professional tattoo artists rely on stencil transfer methods for consistent results. Additionally, surveys show that careful stencil preparation significantly improves tattoo accuracy and client satisfaction.
What Is Tattoo Transfer Paper and Why Does It Matter?
Tattoo transfer paper is a specialized paper that transfers artwork from paper onto the skin before tattooing begins. It creates a temporary stencil that guides every needle movement during the tattooing process.
Before practicing stencil techniques, many beginners also research tattoo requirements, including what age can you get tattoo rules because legal requirements vary across the USA. Understanding both legal guidelines and proper transfer methods creates a better tattoo experience.
The paper usually contains several layers that work together during the transfer process. Every layer serves a specific purpose to create a clear and lasting stencil.
Main Parts of Tattoo Transfer Paper
- Top white sheet for drawing or printing
- Protective tissue layer
- Purple or carbon transfer layer
- Yellow backing sheet
Tools You Need Before Starting
Gathering every tool before beginning makes the transfer process much smoother and prevents interruptions. Preparation also improves stencil quality and reduces unnecessary mistakes.
- Tattoo transfer paper
- Stencil transfer gel or lotion
- Disposable gloves
- Razor for shaving the area
- Antibacterial soap
- Paper towels
- Skin marker
- Thermal printer or pencil
How to Use Tattoo Transfer Paper Step by Step
Following each step carefully creates a crisp stencil that stays visible throughout the tattoo session. Patience during preparation usually produces better final artwork.
Step 1: Prepare the Skin
Clean the skin thoroughly using antibacterial soap before removing any hair from the tattoo area. Then dry the surface completely because moisture weakens stencil adhesion.
Step 2: Prepare the Design
Create or print the artwork using a thermal printer or carefully trace the design by hand. Always verify the design size before transferring it onto the skin.
Step 3: Apply Transfer Gel
Spread a thin and even layer of stencil transfer gel across the cleaned skin. Excess product can blur the stencil instead of improving the transfer.
Many first time clients also wonder about pain levels before scheduling an appointment, so reading what does tattoo feel like provides realistic expectations before the session begins.
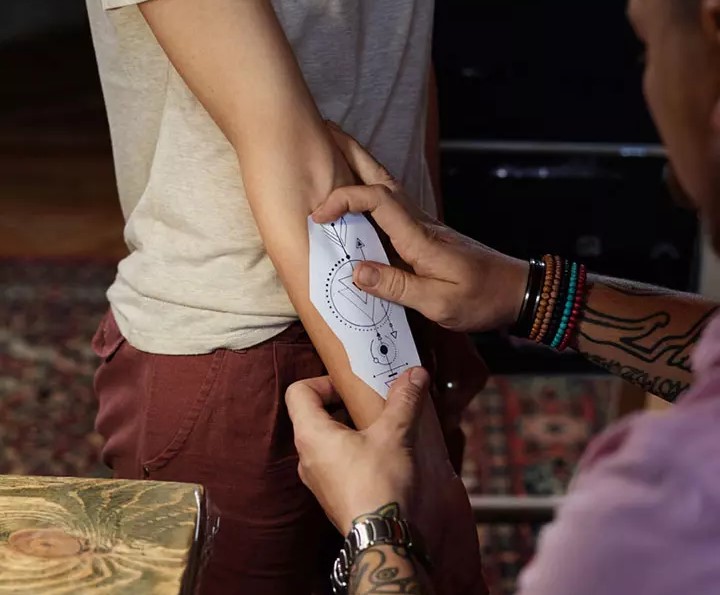
Step 4: Position the Transfer Paper
Place the transfer paper carefully without sliding it after contact with the skin. Accurate placement prevents double lines and distorted artwork.
Step 5: Press Firmly
Press evenly across the entire design for several seconds using steady pressure. Avoid moving the paper because movement damages stencil accuracy.
Step 6: Peel Away Slowly
Remove the transfer paper slowly from one side while checking the transferred image. A successful stencil appears sharp, complete, and easy to follow.
Step 7: Allow the Stencil to Dry
Leave the stencil untouched for several minutes before beginning the tattoo. Drying time helps the stencil resist smudging during the procedure.
Common Mistakes to Avoid
Even experienced artists occasionally encounter stencil problems without proper preparation. Fortunately, avoiding several common mistakes greatly improves transfer quality.
After finishing the tattoo, proper aftercare becomes equally important because healthy healing protects the artwork. Many professionals recommend learning can you drink after getting a tattoo before the appointment to avoid unnecessary healing issues.
- Applying too much transfer gel
- Moving the stencil during application
- Skipping skin preparation
- Using damaged transfer paper
- Ignoring drying time
- Touching the stencil immediately
Tips for Better Tattoo Transfers
Small improvements during preparation often produce significantly cleaner tattoo stencils. Consistent practice also develops greater confidence over time.
- Practice on synthetic practice skin first.
- Store transfer paper in a dry location.
- Replace old transfer paper regularly.
- Wear clean disposable gloves throughout preparation.
- Use quality transfer solution for better adhesion.
- Double check design orientation before applying.
Manual Transfer Versus Thermal Printer
Both transfer methods produce excellent results when used correctly. Your experience level and available equipment usually determine the best choice.
Manual Transfer
Hand tracing offers greater flexibility for custom artwork and unique client requests. Beginners also learn stencil fundamentals while improving drawing precision.
Thermal Printer Transfer
Thermal printers save time and produce highly consistent stencil lines for detailed artwork. Professional tattoo studios frequently prefer this method for everyday use.
How to Keep the Stencil from Smudging
Protecting the stencil before tattooing ensures every line remains visible throughout the session. Good preparation reduces interruptions and unnecessary touch ups.
- Wait until the stencil dries completely.
- Avoid touching the transferred design.
- Keep the skin clean before tattooing.
- Prevent excessive sweating before the session.
- Handle the tattoo area carefully.
Who Should Practice Tattoo Transfer Techniques?
Learning stencil transfers benefits beginners, apprentices, hobby artists, and experienced tattoo professionals alike. Every skill level gains greater consistency through regular practice.
Practice on artificial skin before working with real clients whenever possible. Safe practice builds confidence while improving overall tattoo quality.
Final Thoughts
Understanding how to use tattoo transfer paper correctly creates cleaner stencils, improves tattoo accuracy, and increases client confidence throughout every appointment. Careful preparation, quality materials, and consistent practice produce the most professional results.
If you want better tattoo outcomes, start practicing these transfer techniques today and continue refining your process with every design you create.
Frequently Asked Questions
Can beginners use tattoo transfer paper?
Yes, beginners can easily learn with proper practice and quality supplies.
How long should a tattoo stencil dry?
Most stencils should dry for several minutes before tattooing begins.
Can I reuse tattoo transfer paper?
No, tattoo transfer paper is designed for one time use only.
Does tattoo transfer paper work without transfer gel?
No, transfer gel helps the stencil adhere properly to the skin.
Can I print tattoo designs directly onto transfer paper?
Yes, thermal printers are specifically designed for compatible tattoo transfer paper.