

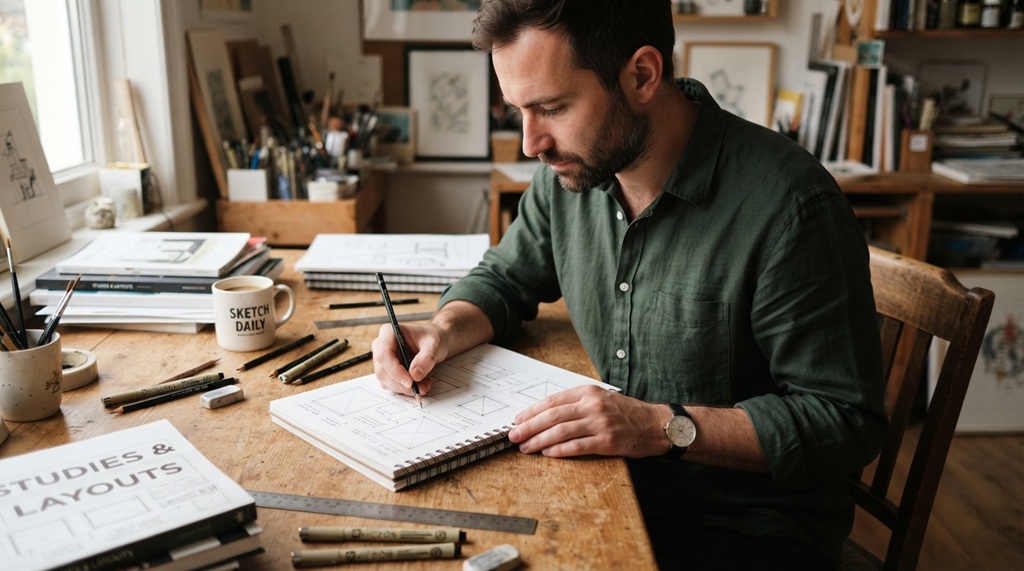

You sketch custom tattoo art by learning basic line work first, then building up shading, symbolism, and tattoo-specific design rules. It is not the same skill as regular illustration. A tattoo sketch has to survive on skin, age well, and read clearly from across a room.
Most beginners jump straight into copying tattoo photos. That approach teaches you very little. This guide breaks the process into clear steps, so you build real drawing skills instead of just tracing someone else’s work.
By the end, you will know exactly what tools to use, how to plan a design, and how to avoid the mistakes that make beginner sketches look flat or unfinished.
Why Tattoo Sketching Is Different From Regular Drawing

Tattoo sketches follow different rules than illustrations made for paper or screen. A drawing that looks great on paper can fail completely once it becomes a tattoo.
Skin stretches, ages, and fades over time. Fine details often blur within a few years. This means tattoo artists design with bold outlines, clear contrast, and simplified shading instead of delicate pencil textures.
Key Differences to Keep in Mind
- Line weight matters more. Tattoo lines need to hold up after healing, so thin, wispy lines often disappear.
- Negative space plays a bigger role. Empty skin areas balance the design and prevent it from looking cluttered.
- Placement changes the shape. A design has to bend and flow with the body part it sits on, like an arm or a ribcage.
- Color choices need restraint. Too many colors close together can blur into a muddy patch after a few years.
Understanding these differences early saves you from redrawing a design later, once you realize it will not translate to skin.
Tools You Need to Start Sketching Tattoo Designs
You only need a few basic tools to start: pencils, paper, an eraser, and a fine-liner pen. Expensive equipment will not make your early sketches better.
Traditional Tools
- Pencils (HB and 2B): Use HB for light guidelines and 2B for darker linework.
- Bristol paper or sketch paper: Smooth paper handles fine detail better than rough textured paper.
- A kneaded eraser: This lifts pencil marks cleanly without smudging the page.
- Fine-liner pens (0.1mm to 0.5mm): These help you practice consistent line weight, which is essential for tattoo work.
Essential Sketching Tools: Digital vs. Traditional
While traditional sketching with pencil and paper builds foundational control, modern digital tools have revolutionized client revisions and stencil preparation. Platforms like Procreate on iPad, Adobe Photoshop, and Clip Studio Paint paired with pressure-sensitive styluses like the Apple Pencil or Wacom tablets faithfully replicate the organic tactile response of physical ink while granting unlimited undo options. Neither medium is superior; in fact, elite artists frequently blend both worlds by hand-drafting initial concepts on paper before scanning them for digital refinement. If you are still seeking creative direction before putting pen to paper, learn how to find unique tattoo ideas that mean something to you to transform personal inspiration into custom artwork.
Step-by-Step: How to Sketch Your First Custom Tattoo Design
Follow this sequence every time you sketch, and your designs will stay organized and easier to fix along the way.
Step 1: Start With a Concept, Not a Drawing
Before you draw a single line, write down what the tattoo needs to represent. Is it a memorial piece, a nature scene, or a personal symbol? A clear concept guides every decision that follows, from style to placement.
Step 2: Gather Reference Images
Collect three to five reference photos related to your subject, whether it is an animal, a flower, or an object. Study how light falls on it and how its shapes connect. Never copy a single reference directly; instead, combine details from several sources to create something original.
Step 3: Block Out Basic Shapes First
Break the subject down into simple shapes, like circles, ovals, and triangles, before adding detail. This step keeps your proportions accurate and prevents the frustrating cycle of erasing an almost-finished drawing because the base shape was off.
Step 4: Add the Main Outline
Once your basic shapes look balanced, trace over them with a clean, confident outline. Keep this outer line slightly thicker than your inner details, since this outline will likely become the boldest line in the final tattoo.
Step 5: Build Interior Details and Shading
Add smaller details inside the outline, such as texture, patterns, or shading. Keep shading simple at this stage. Use basic hatching or stippling instead of complex gradients, since heavy blending rarely tattoos well.
Step 6: Adjust for Flow and Placement
Hold your sketch against a photo of the body part it will sit on, such as a forearm or shoulder. Curve or angle the design where needed, so it flows naturally with the body instead of looking like a flat sticker.
Step 7: Refine With a Final Clean Pass
Redraw the sketch one last time, removing extra guideline marks and tightening up your linework. This final version is what you would show a client or use as your tattoo stencil reference.
Common Beginner Mistakes When Sketching Tattoo Art
Most beginner tattoo sketches fail for the same few reasons, and each one is fixable with practice.
- Overcomplicating the design. Beginners often add too many small details that will blur together once the tattoo heals. Simplify wherever possible.
- Ignoring line weight variation. A sketch with only one line thickness looks flat. Vary your line weight to create depth.
- Skipping the reference stage. Drawing purely from memory usually leads to distorted proportions, especially with animals and faces.
- Forgetting body placement. A design that looks perfect on flat paper can look awkward once it curves around an arm or leg.
- Copying instead of creating. Tracing someone else’s tattoo teaches your hand nothing about anatomy, flow, or spacing. Practice building your own shapes instead.
How to Practice and Improve Your Tattoo Sketching Skills
Consistent, focused practice improves your sketching far faster than random drawing sessions. According to industry experts, tattoo artists typically spend one to two years sketching daily before they feel confident enough to tattoo real skin.
Try these practice habits:
- Set a daily sketch goal. Even 20 minutes a day builds muscle memory faster than one long weekly session.
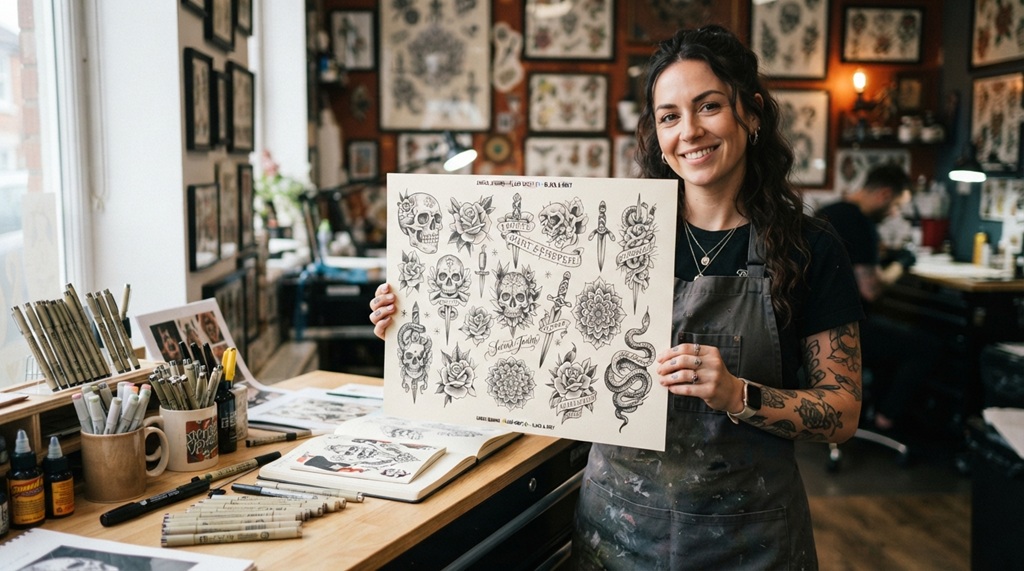
- Study flash sheets. Traditional tattoo flash sheets teach you how professionals simplify complex subjects into clean, tattoo-ready shapes.
- Trace on curved surfaces. Wrap a printed sketch around a mannequin arm or a bottle to practice visualizing how flat designs wrap around skin.
- Get feedback from working artists. Many tattoo shops and online communities welcome beginner questions and portfolio critiques.
- Redraw your old sketches. Revisiting a design from a few months ago shows your progress and highlights habits you should fix.
One angle beginners rarely hear: keep a “reject folder” of your worst sketches instead of deleting them. Reviewing your weakest work months later often reveals patterns, like rushed shading or inconsistent proportions, that are harder to spot in the moment.
Frequently Asked Questions
Do I need to know how to tattoo before I learn to sketch tattoo designs?
No, sketching and tattooing are separate skills you can learn independently. Many artists spend a year or more sketching before ever picking up a tattoo machine. Building strong drawing fundamentals first makes the tattooing process much easier to learn later.
What paper size is best for sketching tattoo designs?
A 9×12 inch sketchbook works well for most beginners, since it gives enough room for detail without becoming unwieldy. Smaller designs can be sketched on standard printer paper. The exact size matters less than keeping your sketches consistent so you can compare progress over time.
Can I sketch tattoo designs without any formal art training?
Yes, many successful tattoo artists are self-taught and learned through consistent daily practice. Formal training can speed up certain fundamentals, like anatomy and shading, but it is not required to start. Focus on repetition, reference study, and honest feedback instead.
How long does it take to sketch a custom tattoo design?
A simple custom design might take one to two hours from concept to final sketch, while detailed pieces can take several sessions. Professional artists often revise a design two or three times based on client feedback. Beginners should expect their early sketches to take longer as they build speed and confidence.
Should I sketch digitally or on paper as a beginner?
Either method works, though many beginners find paper easier for learning fundamental line control. Digital tools make revisions faster once you understand the basics. Try both early on and stick with whichever keeps you sketching consistently.
Final Thoughts
Learning to sketch custom tattoo art takes patience, not talent alone. Start with simple shapes, study real references, and pay close attention to how your lines will hold up on skin. Every professional tattoo artist started with rough, imperfect sketches just like yours will be at first.
Keep practicing daily, save your old work, and revisit it often. Over time, your sketches will move from flat drawings to designs that feel built for skin, not just paper.