

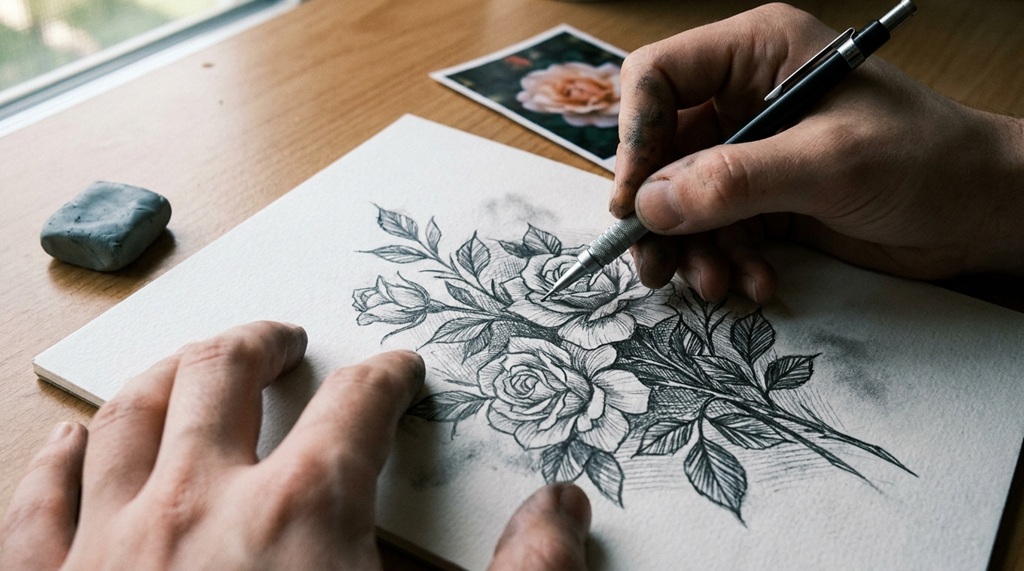

You sketch floral tattoo art with realistic shading by building the flower in layers: line first, then value, then blend. This approach turns a flat outline into a design that looks like it has real depth and light. Most beginners skip straight to shading and end up with muddy, flat petals instead.
This guide breaks the process into clear steps. You’ll learn how to plan your light source, layer your pencil strokes, and choose the right tools for skin-ready line work. Each section stands on its own, so you can jump to the part you need most.
Whether you’re a tattoo apprentice or a self-taught artist building a portfolio, these techniques apply to any flower design. Roses, peonies, lotus blossoms, and wildflowers all follow the same shading logic once you understand the basics.
Why Realistic Shading Matters in Floral Tattoo Design
Realistic shading gives a floral tattoo the illusion of depth, making a 2D sketch look three-dimensional on skin. Without shading, even a well-drawn flower reads as a flat sticker rather than a lifelike image. Shading tells the eye where light falls and where it disappears, which is what makes petals curl and stems look round.
Tattoo art also behaves differently than paper art once it heals. Skin absorbs ink unevenly, and fine details can blur over time. Strong, intentional shading survives the healing process better than delicate line work alone. This is why professional tattoo artists plan their shading before they ever touch a machine.
Good shading also helps hide small line imperfections. A slightly uneven petal edge looks intentional when it’s supported by smooth gradients and consistent shadow direction.
Essential Tools for Sketching Floral Tattoo Art
The right tools make shading faster and more consistent, even for artists still building their skills.
Pencils and Graphite Grades
A range of graphite pencils gives you control over both line weight and shadow depth. Use a harder pencil, like a 2H, for your initial sketch lines. Switch to softer grades, such as 2B to 6B, for building shadow layers. Softer pencils blend more easily and create richer, darker tones.
Blending Tools
Blending stumps and tortillons smooth out pencil strokes into soft gradients. A soft blending stump works well on large petal areas, while a fine-tipped one handles tight spaces near the flower’s center. Some artists also use a clean makeup sponge for broad, even blending across bigger sections.
Paper and Digital Options
Smooth bristol paper is a popular choice because it holds fine detail without excess texture. If you sketch digitally, a program like Procreate or Photoshop with a soft round brush replicates pencil shading closely. Digital sketching also lets you undo mistakes instantly, which speeds up practice.
Step-by-Step Process to Sketch a Floral Tattoo with Shading
Building a shaded floral tattoo sketch works best when you follow a consistent order, from rough shape to final polish.
Step 1: Block Out the Basic Flower Shape
Start with simple geometric shapes, like circles and ovals, to map out the flower’s overall structure. This step keeps proportions accurate before you add any detail. Avoid pressing hard here, since these lines are temporary guides.
Step 2: Add Petal Outlines and Overlap
Draw individual petals on top of your basic shapes, letting some petals overlap others. Overlapping petals create natural depth and give the design a sense of layers. Pay attention to how petals curve inward toward the flower’s center.
Step 3: Establish Your Light Source
Decide where the light hits the flower before you shade anything. Most artists place the light source in the upper left or upper right, since this feels natural to the eye. Every shadow in your sketch should point away from this light source consistently.
Step 4: Build Shadows in Layers
Apply your first shading pass with a lighter pencil, focusing only on the darkest shadow areas. Build up darkness gradually with additional layers rather than pressing hard once. This layered approach avoids harsh, flat-looking shadows and gives you more control over the final result.
Step 5: Blend and Refine Highlights
Use your blending stump to soften harsh pencil lines into smooth gradients. Then, use a kneaded eraser to lift out small highlight areas where light hits the petal directly. This contrast between deep shadow and clean highlight is what sells the realistic effect.
Master Soft-Blend and Whip-Shading for Depth
Different shading techniques create distinct textures and moods, so selecting the right approach depends on whether your design calls for smooth, hyper-realistic gradients or bold, directional grit. Mastering these pencil-shading foundational skills allows you to render velvety petals and dimensional leaves that jump off the skin. Once you have honed your shading capabilities to create striking individual botanicals, you can seamlessly scale your artwork into larger compositions. Learn combine tattoo elements into a custom half-sleeve to weave your shaded floral focal points into a cohesive, flow-driven arm concept.
Stippling for Soft Texture
Stippling uses small dots to build up value gradually. Tattoo artists often use this technique for soft, dreamy floral pieces because it avoids harsh lines entirely. It takes more time than blending, but the payoff is a smoother, more organic texture.
Cross-Hatching for Bold Contrast
Cross-hatching layers intersecting lines to build darker values quickly. This technique works well for bold, high-contrast floral designs, especially black-and-grey roses. It also translates well to the tattoo machine, since many artists hatch shading directly with the needle.
Smooth Blending for Photorealistic Petals
Smooth blending relies on gradual, even pressure changes rather than visible lines or dots. This technique suits photorealistic floral tattoos, where the goal is to mimic an actual photograph. It takes practice to control pressure evenly, but it produces the most lifelike results.
Mistakes That Ruin Realistic Floral Shading (And How to Avoid Them)
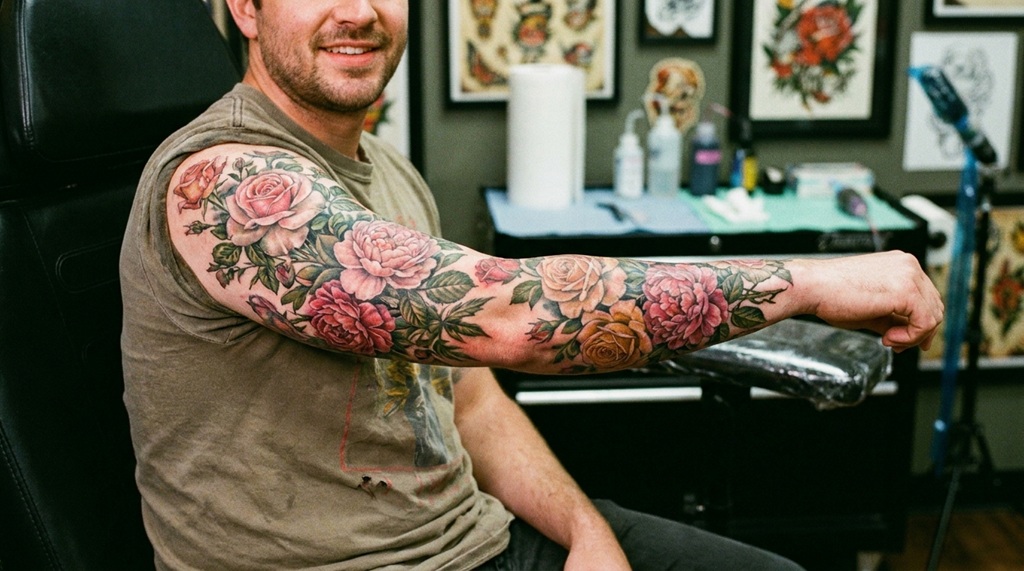
Most shading problems come from skipping steps or rushing the layering process, not from a lack of talent.
One common mistake is shading before the light source is fully decided. This leads to shadows pointing in random directions, which breaks the illusion of depth immediately. Always commit to one light direction before adding a single shadow.
Another mistake is pressing too hard too early. Heavy pressure locks in dark values before you’ve built up the full range of tones, leaving no room to adjust. Light layers, added gradually, give you far more control over the final look.
A third mistake is ignoring petal thickness. Real petals have some thickness and curve, not just a flat surface. Adding a thin sliver of shadow along a petal’s edge suggests that thickness and instantly makes the design feel more three-dimensional.
Finally, many beginners forget to step back and view their sketch from a distance. Shading that looks fine up close can appear patchy or uneven from a few feet away, which is exactly how a finished tattoo gets viewed on skin.
How Floral Tattoo Shading Changes When Moving to Skin
Sketching on paper and shading a real tattoo are related but not identical skills, and this difference trips up many artists moving from art school into the studio. On paper, you control every gradient with infinite tiny adjustments. On skin, a tattoo machine builds shadow through needle depth, speed, and ink saturation, which behaves less forgivingly than a pencil.
A useful practice bridge is to sketch your floral design at the exact size and angle it will appear on the body, then simulate machine shading using thicker pen strokes instead of pencil blending. This forces you to commit to bolder shadow zones early, which mirrors how tattoo shading actually holds up over the following weeks of healing. Many self-taught artists skip this step and are surprised when a beautifully soft pencil gradient turns into a blotchy, uneven shadow once it’s tattooed and healed.
Frequently Asked Questions
What pencil is best for shading floral tattoo sketches?
A range from 2H to 6B works best, since it covers both light guidelines and deep shadow tones. Start with harder pencils for structure and move to softer ones for shading. This range gives you enough contrast to create realistic depth.
How long does it take to learn realistic floral tattoo shading?
Most artists see noticeable improvement after a few months of regular practice, though this varies by person. Daily practice, even just 20 to 30 minutes, builds muscle memory faster than occasional long sessions. Realistic shading is a skill that improves steadily rather than all at once.
Should I shade with pencil or go straight to digital?
Pencil shading builds fundamental skills that transfer directly to digital work, so most experts recommend starting there. Digital tools speed up the process once you understand light, shadow, and blending. Many professional tattoo artists still sketch designs by hand before finalizing them digitally.
Can stippling and blending be combined in one floral design?
Yes, many tattoo artists combine both techniques within a single design for varied texture. Petals might use smooth blending while the flower’s center uses stippling for extra detail. This combination adds visual interest without overcomplicating the overall design.
Why does my floral tattoo sketch look flat even after shading?
Flat-looking shading usually means the light source wasn’t applied consistently across the whole flower. It can also mean the shadows lack enough tonal range, from very light to very dark. Adding a stronger highlight and a deeper core shadow usually fixes this immediately.
Conclusion
Realistic floral tattoo shading comes down to a repeatable process: block the shape, commit to a light source, layer your shadows, and blend with intention. Skipping any one of these steps is what usually causes flat or muddy results, not a lack of natural talent.
Practice each step separately before combining them, and pay close attention to how your sketch will translate onto skin. With consistent practice, floral designs will start to show the kind of depth and realism that stands out in any tattoo portfolio.