

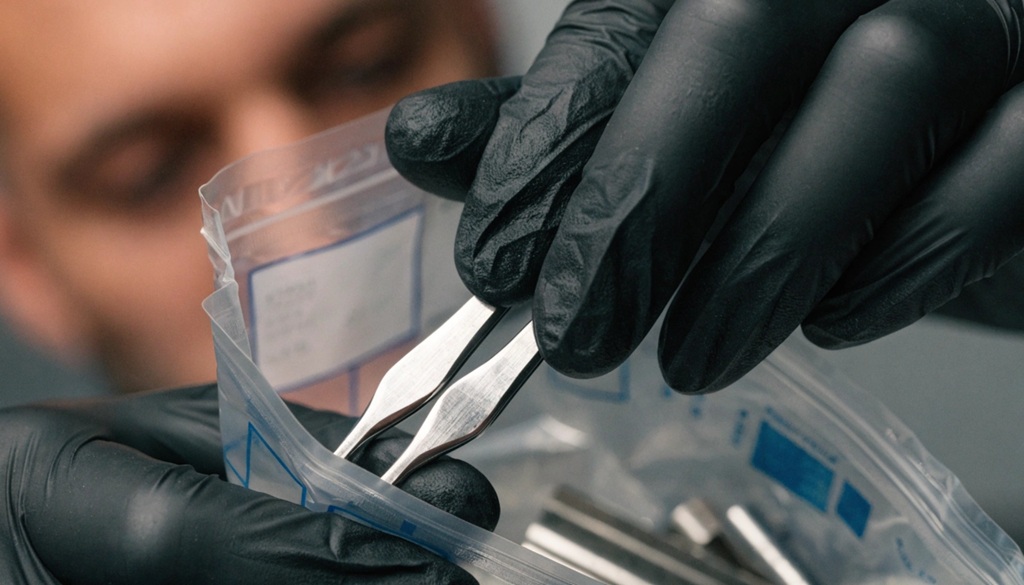

You sterilize tattoo grips by cleaning off all organic material first, then running them through an autoclave with a full cycle, and confirming the cycle worked with an indicator strip. Skip any of these steps, and you risk spreading infections like hepatitis or staph between clients. This isn’t optional gear maintenance it’s the line between a safe studio and a serious health hazard.
Grips sit close to open skin during every single tattoo. Blood, ink, and skin cells collect in every groove and crevice. A rinse under hot water won’t cut it. You need a real sterilization process that kills bacteria, viruses, and spores completely.
This guide walks you through the exact process, the tools you need, and the mistakes that get artists in trouble. Whether you’re new to the studio or tightening up your protocols, you’ll find clear steps you can start using today.
Why Proper Sterilization of Tattoo Grips Matters
Sterilization protects both your clients and your career. A single contaminated grip can transmit bloodborne pathogens, and a health inspection failure can shut your studio down.
Tattoo grips touch broken skin directly. Blood and bodily fluid contact happens on nearly every session, even with careful technique. If you reuse a grip without full sterilization, you risk transmitting:
- Hepatitis B and C
- Staphylococcus infections
- MRSA
- Other bloodborne pathogens
Most regions require licensed studios to follow strict sterilization standards, often modeled on medical-grade infection control. Health departments can and do inspect studios, and they check autoclave logs, spore test records, and sterile storage practices. Skipping proper sterilization isn’t just risky for clients it can cost you your license.
Prerequisites for Professional Tattoo Sterilization
Maintaining an unbroken chain of safety requires three distinct equipment categories: surface cleaning tools, medical-grade sterilization machinery, and chemical verification indicators. Missing even a single item compromises your entire hygiene protocol, placing your clients and studio at risk. To build a robust, fully compliant foundation before you begin processing your gear, seamlessly align your equipment protocols with our guide on to set up a sanitary tattoo station like a pro.
Cleaning Supplies
- An enzymatic cleaning solution designed for medical or tattoo equipment
- A soft-bristle brush dedicated only to cleaning (never reuse it for anything else)
- Autoclavable sterilization pouches
- Heavy-duty gloves and eye protection
Sterilization Equipment
- A medical-grade autoclave (steam sterilizer)
- An ultrasonic cleaner, if your studio uses one for pre-cleaning
- Distilled water for the autoclave reservoir
Verification Tools
- Chemical indicator strips (they change color when a cycle reaches the right temperature)
- Biological spore test kits (these confirm the autoclave actually kills spores, not just heat-sensitive bacteria)
Skip the verification tools, and you’re guessing whether your equipment worked. Guessing has no place in infection control.
Step-by-Step Process to Sterilize Tattoo Grips
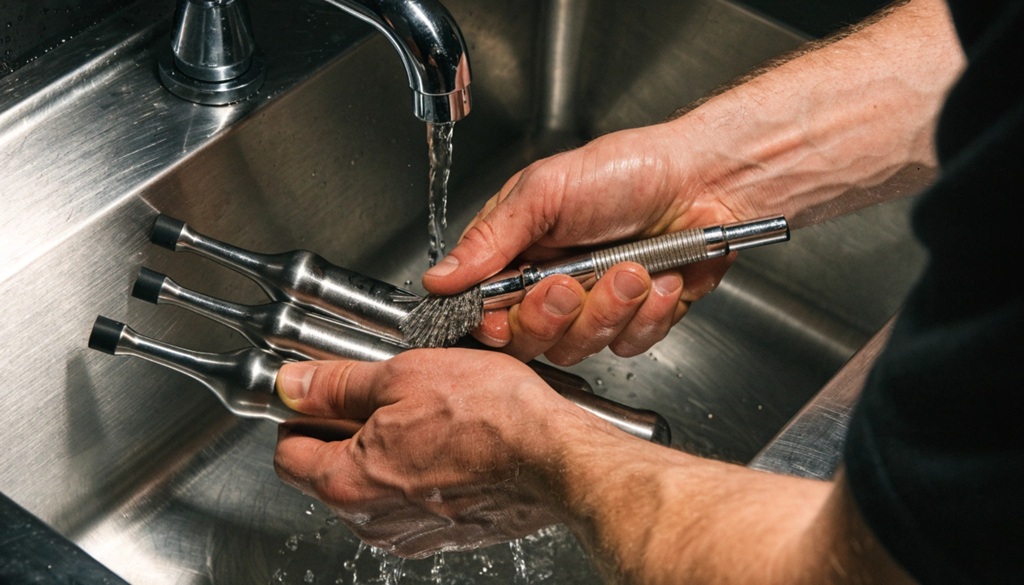
Follow these steps in order every time. Don’t skip ahead, even when you’re busy between clients.
Step 1: Remove the Grip Immediately After Use
Take the grip off the machine as soon as the session ends. Don’t let ink or blood dry on the surface dried residue is much harder to remove and can shield bacteria from later cleaning.
Step 2: Pre-Clean With Enzymatic Solution
Soak the grip in an enzymatic cleaner for the time listed on the product label, usually 5 to 10 minutes. The enzymes break down protein-based residue like blood and skin cells. Scrub every groove with your dedicated brush, paying close attention to threading and any textured grip patterns.
Step 3: Rinse and Dry Thoroughly
Rinse the grip under clean running water to remove all cleaning solution. Dry it completely with a lint-free cloth. Any leftover moisture can interfere with the sterilization cycle and promote bacterial growth inside the pouch.
Step 4: Inspect for Damage
Check the grip for cracks, pitting, or worn threading. Damaged grips can trap contaminants even after sterilization and should be retired, not reused.
Step 5: Bag It in a Sterilization Pouch
Place the grip in an autoclave-rated pouch and seal it. Never sterilize loose equipment the pouch keeps it sterile after the cycle ends and until you open it for use.
Step 6: Run a Full Autoclave Cycle
Load the pouch into your autoclave and run a complete cycle at the manufacturer’s recommended temperature and time, typically around 250–273°F (121–134°C) for 20 to 30 minutes, followed by a drying phase. Never interrupt a cycle early.
Step 7: Confirm Sterilization With Indicators
Check the chemical indicator on the pouch for a color change after the cycle. Run a biological spore test at least once a week to confirm your autoclave is actually killing spores, not just reaching temperature. Log both results with the date and cycle number.
Step 8: Store Sealed Pouches Properly
Keep sterilized pouches in a clean, dry, closed cabinet away from dust and moisture. Label each pouch with the sterilization date so you can track shelf life and rotate stock.
Common Sterilization Methods Compared
Autoclaving is the industry standard, but it’s worth understanding the alternatives and why most professional studios still choose steam.
Steam Autoclaving
This is the gold standard for tattoo equipment. It uses pressurized steam to kill bacteria, viruses, fungi, and spores. It’s reliable, verifiable with spore tests, and required by most health boards for reusable tattoo tools.
Chemical (Cold) Sterilization
Chemical sterilants can disinfect surfaces, but they don’t reliably reach the same sterility level as steam for equipment with grooves and threading. Most licensing boards don’t accept this as a standalone method for grips that contact broken skin.
Dry Heat Sterilization
Dry heat ovens can sterilize metal tools, but they usually require much longer cycle times than steam and can be harder to verify consistently in a busy studio. Steam autoclaving remains faster and better documented for tattoo-specific equipment.
The Disposable Grip Option
Many studios now skip reusable metal grips entirely and use single-use, individually sterilized disposable grips instead. This removes the sterilization step altogether for that piece of equipment and cuts cross-contamination risk to nearly zero. It costs more per session, but many artists find the reduced liability and time savings worth it, especially during high-volume days.
Mistakes to Avoid When Sterilizing Grips
These are the errors that most often lead to failed inspections or, worse, infections.
- Skipping pre-cleaning. An autoclave cannot sterilize through dried blood or ink residue. Organic matter can shield bacteria from steam penetration.
- Overloading the autoclave. Packing too many pouches blocks steam circulation and leaves some items under-sterilized.
- Ignoring spore test failures. If a spore test comes back positive for growth, stop using the autoclave immediately and get it serviced.
- Reusing pouches. Once you open a sterile pouch, the contents are no longer sterile. Never reseal and reuse.
- Storing pouches in humid areas. Moisture can compromise the pouch seal over time and let contaminants back in.
- Using a home autoclave without medical certification. Not all autoclaves meet the pressure and temperature consistency needed for medical-grade sterilization.
How to Store and Maintain Sterilized Grips
Store sealed, sterilized pouches in a dedicated clean cabinet, and always check the seal before use. Never touch the inside of a pouch or the grip itself before you’re ready to attach it to your machine.
Rotate your stock so older sterilized items get used first. Most sterile pouches have a shelf life of around six months, but check the manufacturer’s guidance for your specific pouch brand. If a pouch looks torn, damp, or the seal looks broken, treat the grip inside as contaminated and sterilize it again before use.
Keep a maintenance log for your autoclave too. Regular servicing, calibration checks, and consistent spore testing catch equipment problems before they become client safety problems.
Frequently Asked Questions
How often should I sterilize my tattoo grips?
Sterilize every grip after every single use, with no exceptions. Even if a session was short or you think contact was minimal, blood and skin contact can still transfer pathogens.
Can I use rubbing alcohol to sterilize tattoo grips?
No. Rubbing alcohol disinfects surfaces but doesn’t achieve true sterilization and can’t reach into grooves or threading. You need a full autoclave cycle for equipment that contacts broken skin.
How long does an autoclave cycle take for tattoo grips?
Most cycles run 20 to 30 minutes, plus a drying phase, for a total of around 30 to 45 minutes depending on your equipment. Always follow your specific autoclave’s instructions, since times vary by model.
What’s the difference between disinfecting and sterilizing?
Disinfecting reduces the number of germs on a surface, while sterilizing kills all microorganisms, including bacterial spores. Tattoo grips need full sterilization because they contact broken skin directly.
Are disposable tattoo grips better than sterilizing reusable ones?
Disposable grips remove the sterilization step for that item and can lower cross-contamination risk, especially in busy studios. Reusable grips cost less over time but require strict, consistent sterilization to stay safe.
Conclusion
Sterilizing tattoo grips isn’t a quick rinse between clients it’s a multi-step process that protects everyone in your chair. Clean off all residue first, run a full autoclave cycle, and verify the result with indicator strips and regular spore tests. Skip the shortcuts, log your results, and store finished pouches properly.
Whether you stick with reusable grips or switch to disposables, the goal stays the same: every client gets equipment that’s genuinely sterile, every single time.