

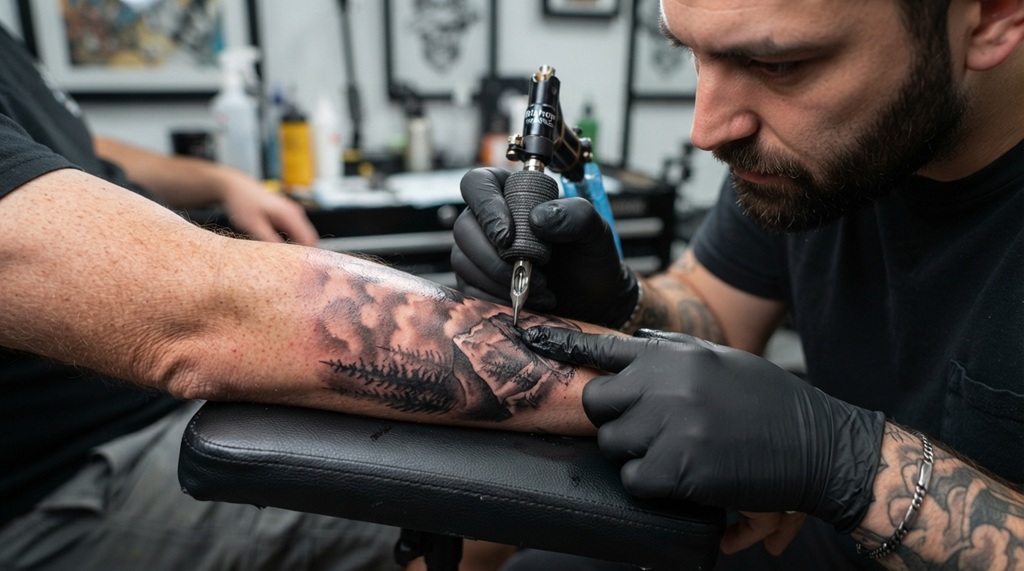

Blending black and grey ink for realistic tattoos comes down to three things: correct dilution, smooth needle movement, and patience between passes. Artists who master these three build depth without muddy lines or patchy shading. This guide breaks each part down so you can apply it on your next piece, whether you tattoo professionally or you’re studying the craft.
Realism lives in the transitions. A photo-realistic portrait or a soft nature scene needs grey tones that shift gradually, not in hard bands. That smooth shift only happens when you control your ink-to-water ratio, your machine’s voltage, and your hand speed together, not one at a time.
Below, you’ll find the exact process working artists use, common mistakes to avoid, and tips on choosing ink and equipment that make blending easier from the start.
Understanding Black and Grey Ink Ratios
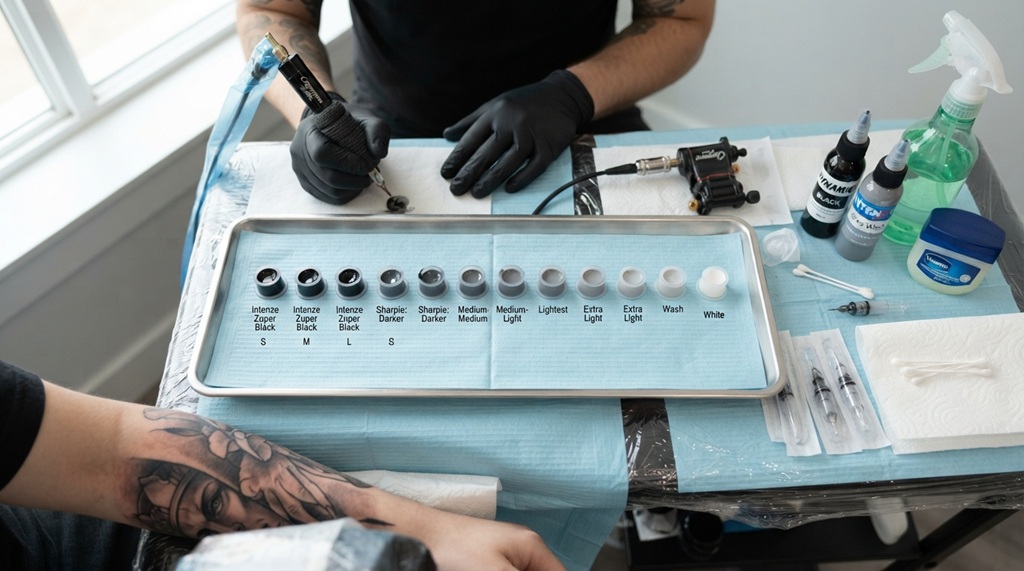
Grey wash tattoo shading comes from diluting black ink with distilled water or a mixing solution, not from buying separate grey ink for every shade. Most artists build a set of three to five ratios, moving from near-black to a faint highlight tone.
A common starting framework looks like this:
- Dark shade: roughly 3 parts black ink to 1 part water
- Mid shade: roughly 1 part black ink to 1 part water
- Light shade: roughly 1 part black ink to 3 parts water
- Highlight wash: a faint tint, closer to 1 part black ink to 6-8 parts water
These ratios are starting points, not fixed rules. Skin type, ink brand, and the healed result you want all shift the numbers. Many artists keep a small notebook or app log of ratios that worked well on past clients, since pigment settles differently across skin tones.
Why Pre-Mixed Grey Wash Elevates Beginner Shading Technique
By eliminating the volatile guesswork of manually mixing ratios, pre-mixed grey wash sets provide beginner artists with a stable, reliable foundation to develop clean shading habits. Premium manufacturers such as Fusion, Dynamic, and Eternal offer carefully calibrated, multi-shade gradations that ensure exact tone predictability from bottle to skin. Leveraging these consistent formulas allows developing artists to isolate and refine fundamental mechanics specifically hand speed, needle depth, and saturation patterns without the distraction of shifting ink densities. Furthermore, mastering controlled needle depth reduces skin trauma and prevents ink blowouts, much like the precise hand discipline needed when learning how to master fine line tattoos without blowouts ultimately ensuring that subtle grey gradients heal with flawless, long-lasting clarity before you transition into formulating custom ratios.
Choosing the Right Needles and Machine Settings
The needle configuration and machine speed you choose directly control how smoothly your grey tones blend into each other. Realistic shading almost always uses round shader or magnum needle groupings, since they lay down pigment in a soft, even spread rather than a hard line.
- Round shaders (3-9 needles): good for small areas, detail work, and tight blending zones like eyes or fine hair strands
- Magnums (7-15 needles): better for larger areas like backgrounds, muscle definition, or broad shadow work
- Voltage: most artists run shading passes slightly lower than lining voltage, often in the 6-8 volt range depending on machine type, to avoid overworking the skin
Machine speed matters as much as needle choice. A slower, controlled pass lets ink settle evenly. A fast, rushed pass tends to push pigment unevenly, leaving streaks that show up clearly once the tattoo heals.
Rotary vs. Coil Machines for Grey Wash Work
Rotary machines tend to give a smoother, quieter shading experience, which many artists prefer for long blending sessions. Coil machines can still produce excellent grey wash work, but they usually need more hand adjustment to match the softness rotary machines offer by default.
Neither machine type is objectively better for blending. The choice often comes down to what an artist trained on and feels most in control with, since consistent hand pressure matters more than the machine brand.
Techniques for Smooth Ink Transitions
Smooth transitions between grey tones come from layering ink in overlapping passes, not from applying one shade and moving straight to the next. Think of it like an airbrush painter building up color in thin coats rather than one heavy coat.
- Work from dark to light. Lay your darkest shade first in the deepest shadow areas, then work outward with progressively lighter dilutions.
- Overlap each pass slightly. Let each new, lighter shade overlap the edge of the previous one by a small margin so there’s no visible line between tones.
- Use circular or back-and-forth motions. Consistent, repeated motion patterns (sometimes called “whip shading” or “pendulum shading”) spread ink more evenly than random strokes.
- Let the skin rest between heavy passes. Overworking one area causes trauma that shows up as scarring or blown-out shading once healed.
One angle many guides skip: plan your light source before you start shading. Decide where the “light” hits the image and keep that logic consistent across the whole piece. Even skilled artists lose realism when shadows fall in directions that don’t match a single light source. Sketch the light direction on paper first, or mark it lightly on the stencil, before the needle touches skin.
Whip Shading vs. Pendulum Shading
Whip shading involves quick flicks of the wrist that fade ink out at the edges, useful for wispy transitions like smoke or hair. Pendulum shading uses a steady back-and-forth swing, better suited to broad, even fields like skin shadow or fabric folds.
Most realistic pieces use both within the same session. Whip shading handles the fine, fading edges, while pendulum shading fills the larger mid-tone areas underneath.
Common Mistakes That Ruin Grey Wash Blending
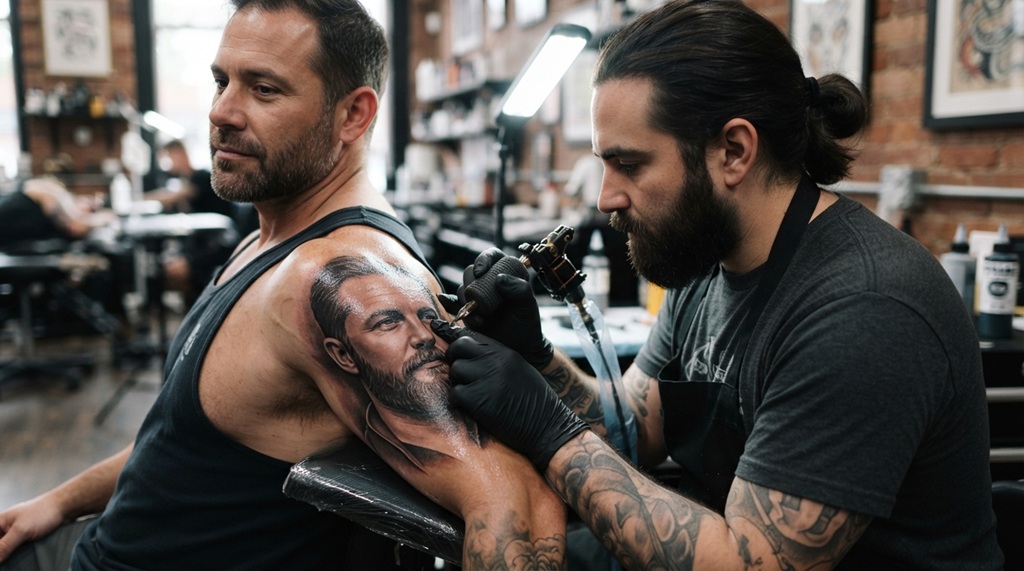
The most frequent blending mistake is moving between shades too abruptly, which leaves visible bands instead of a gradient. This happens when an artist switches ink cups without overlapping the previous pass, or works too fast to let the transition settle.
Other frequent issues include:
- Over-diluting the ink until it fades out after healing. Skin naturally lightens healed tattoos by a noticeable margin, so a wash that looks perfect fresh can disappear within weeks if it’s too thin.
- Overworking one section. Going over the same spot repeatedly to “fix” a patchy look often causes more trauma and scarring, which shows as a blotchy healed result.
- Ignoring needle depth consistency. Uneven depth across a shaded area causes some ink to sit properly while other ink pushes out during healing, leaving gaps.
- Skipping a test swatch. Testing a new ink brand or ratio on a small, hidden area first can prevent a full session from healing unpredictably.
Fixing these issues starts with slowing down. Rushed sessions are the root cause behind most blending problems, according to industry experts, since even skilled hands need time to build gradients properly.
Aftercare Tips to Preserve Blended Grey Tones
Grey wash tattoos need slightly more aftercare attention than solid black work, since lighter dilutions sit less deeply in the skin. Proper aftercare protects the subtle tone variation you spent hours building during the session.
- Keep the area moisturized with a fragrance-free lotion once the tattoo starts peeling, since dry skin can pull pigment out unevenly.
- Avoid direct sun exposure during healing and for months afterward, since UV light fades lighter grey tones faster than solid black.
- Skip early exfoliation. Picking or scrubbing healing skin removes ink unevenly, which can flatten the gradient you built.
- Follow up with your artist if any area looks patchy after full healing, usually around four to six weeks. Touch-ups are common and expected for detailed grey wash pieces.
Clients should understand before the session that healed grey wash tattoos often look slightly softer than the fresh version. That’s normal ink settling, not a sign of poor technique, as long as the overall gradient still reads clearly.
Frequently Asked Questions
What’s the best ink ratio for grey wash tattoos?
There’s no single perfect ratio, since it depends on ink brand and skin type, but a common starting range is 3:1 for dark shades down to 1:6 for light highlights. Many artists test a few ratios on practice skin before settling on a personal set they trust.
Can I mix my own grey wash instead of buying pre-mixed sets?
Yes, mixing your own grey wash with black ink and distilled water works well once you’ve built consistency with needle control. Pre-mixed sets are useful for beginners, but custom ratios give more control over specific project needs.
Why does my grey wash tattoo look patchy after healing?
Patchy healing usually comes from over-diluted ink, uneven needle depth, or working the same area too many times in one session. A touch-up several weeks after full healing can often correct light or uneven patches.
Do rotary or coil machines work better for blending grey tones?
Both machine types can produce excellent blending results, though rotary machines tend to feel smoother for long shading sessions. The bigger factor is the artist’s hand control and pass speed, not the machine brand alone.
How long does a realistic black and grey tattoo take to heal fully?
Most black and grey tattoos heal on the surface within two to three weeks, but full healing underneath can take four to six weeks. Grey wash areas may look slightly lighter once fully healed compared to how they appeared fresh.
Conclusion
Blending black and grey ink for realistic tattoos rests on three habits: consistent ink ratios, smooth needle transitions, and patient, unhurried passes. Artists who slow down between shades, plan their light source before shading, and give the skin time to rest build gradients that hold up well after healing. Combine solid technique with the right needle setup, and grey wash shading becomes one of the most rewarding skills to develop in realistic tattoo work.