

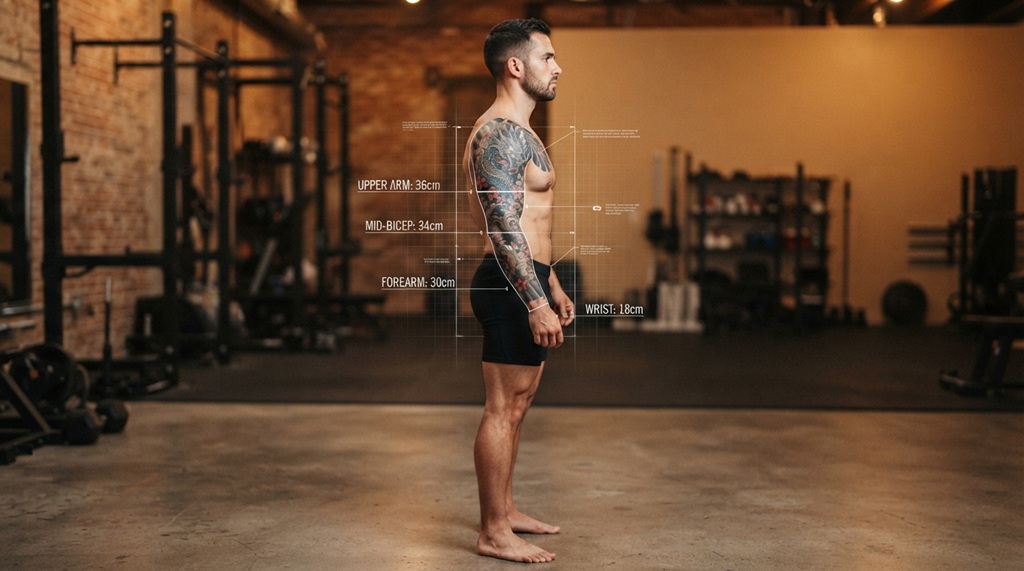

A sleeve tattoo needs more planning than a single piece of art. You must measure your arm correctly and map how the design will flow around its curves. Get this step right, and your sleeve will look balanced from every angle. Get it wrong, and even great artwork can look stretched, cramped, or disconnected.
This guide walks you through the exact measurements artists use, how to plan body flow around muscle and bone, and how to avoid the sizing mistakes that ruin otherwise good sleeve concepts. Whether you’re planning a half sleeve or a full arm piece, these steps apply the same way.
Let’s break down what actually matters when you measure for a sleeve.
What Counts as a “Sleeve” Tattoo Size
A sleeve tattoo covers a large section of the arm as one connected design, not several separate images. Artists typically break sleeves into categories based on coverage area, and each category needs different measurements.
Quarter Sleeve
A quarter sleeve covers either the upper arm or the forearm, but not both. It usually runs from the shoulder to just above the elbow, or from the elbow to the wrist. This is the smallest sleeve commitment and a common starting point for first-timers.
Half Sleeve
A half sleeve covers either the entire upper arm or the entire forearm, wrapping fully around the limb. Some artists use “half sleeve” to mean shoulder-to-elbow coverage specifically, so confirm the exact boundaries with your artist before you start.
Full Sleeve
A full sleeve runs from the shoulder to the wrist, covering the whole arm in one continuous design. This is the biggest commitment in both time and cost, and it demands the most careful flow planning since the design has to work across the shoulder cap, bicep, elbow, forearm, and wrist.
How to Measure Your Arm for a Sleeve Tattoo
Measuring your arm correctly gives your artist the real numbers they need to scale the design properly. Skipping this step is one of the most common reasons sleeve designs end up too small or oddly proportioned once they’re actually on skin.
Tools You’ll Need
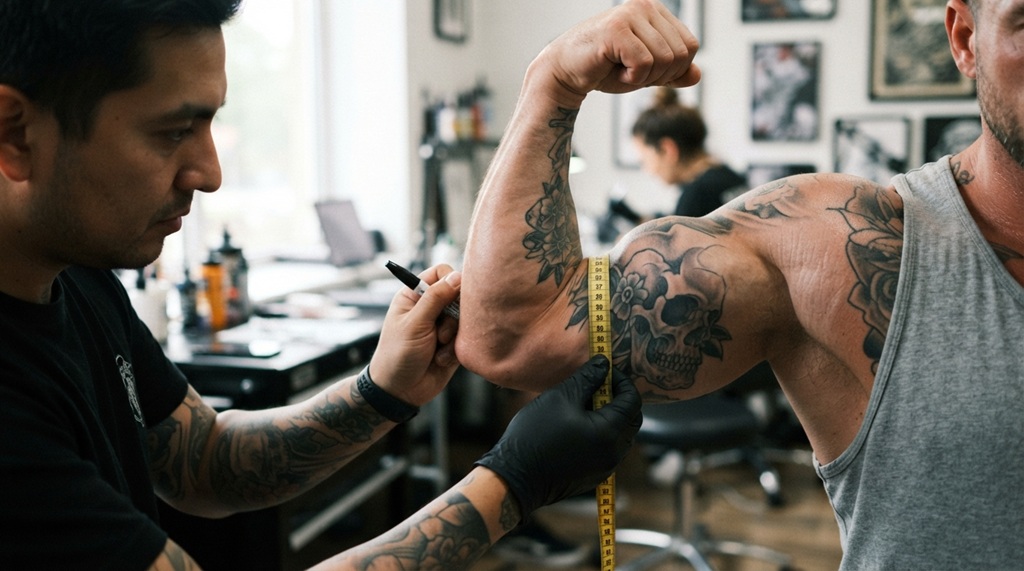
Use a flexible cloth measuring tape, not a rigid metal one. Your arm has curves, and a stiff tape won’t follow them accurately. You’ll also want a mirror or a second person to help, since measuring your own arm alone is awkward and often inaccurate.
Step-by-Step Measurement Process
- Measure arm length. Start at the top of the shoulder and run the tape down to the wrist bone. Keep your arm relaxed and slightly bent, since a fully straight arm changes the skin’s stretch.
- Measure upper arm circumference. Wrap the tape around the widest part of your bicep, usually right below the shoulder muscle.
- Measure forearm circumference. Wrap the tape around the widest part of your forearm, close to the elbow.
- Measure wrist circumference. Wrap the tape around the wrist bone if the sleeve will extend that far down.
- Note the elbow crease location. This spot matters a lot for flow planning, since designs often bend or shift direction here.
Write every number down and bring it to your consultation. Artists use these measurements to draft a design that actually fits your arm’s real proportions, not just a generic template.
Designing for Anatomy: The Power of Body Flow
Body flow is the art of sculpting a design around your arm’s natural muscular contours rather than plastering it on like a flat sticker ensuring your sleeve moves fluidly with your body rather than looking like an awkward print wrapped around a rigid cylinder. Aligning your artwork with the physical movement of your muscles transforms a static tattoo into an organic masterpiece, which is why understanding how to pick the best tattoo placement for pain and aging is essential for preserving both the visual elegance and structural integrity of your sleeve over a lifetime.
Working With Muscle Movement
Your arm isn’t a static tube. It flexes, bends, and changes shape when you move it. According to industry experts, experienced sleeve artists design pieces while accounting for how the arm looks both relaxed and flexed, so the artwork holds together in both states. This is why a simple line drawing rarely works well as a sleeve the design needs elements that read correctly no matter what position your arm is in.
Using Natural Landmarks
Your elbow, wrist, and shoulder create natural breakpoints in a sleeve design. Skilled artists use these landmarks on purpose, placing focal images at the bicep and forearm while using the elbow area as a transition zone. Fighting against these landmarks for example, forcing a single large image straight across the elbow crease often causes the design to distort when you bend your arm.
Front, Side, and Back Coverage
A full sleeve wraps completely around your arm, which means it has a front view, a side view, and a back view. Many people planning their first sleeve only think about the front-facing view they see in the mirror. Ask your artist to sketch or describe how the design reads from the inner arm and back of the arm too, since those areas are just as visible to everyone else.
How Sizing Affects Detail, Time, and Cost
Bigger sleeve sizes allow for more detail, but they also mean longer sessions and higher costs. Understanding this trade-off before your consultation helps you set a realistic budget and timeline.
Detail Level by Size
Smaller sleeve sections, like a quarter sleeve, work best with fewer, larger design elements. Cramming too much detail into a small area often turns into a blurry mess after a few years, since fine lines and small gaps tend to fade and blend together over time. Full sleeves have more room to breathe, so they can support intricate backgrounds, layered imagery, and finer linework.
Session Planning Based on Size
Most sleeve tattoos take multiple sessions to complete, and the total number depends heavily on size and detail level. A quarter sleeve might take two to three sessions. A full sleeve with heavy detail can take six or more sessions spread across several months. Ask your artist for a session estimate specific to your design once measurements and flow are locked in.
Common Sizing Mistakes to Avoid
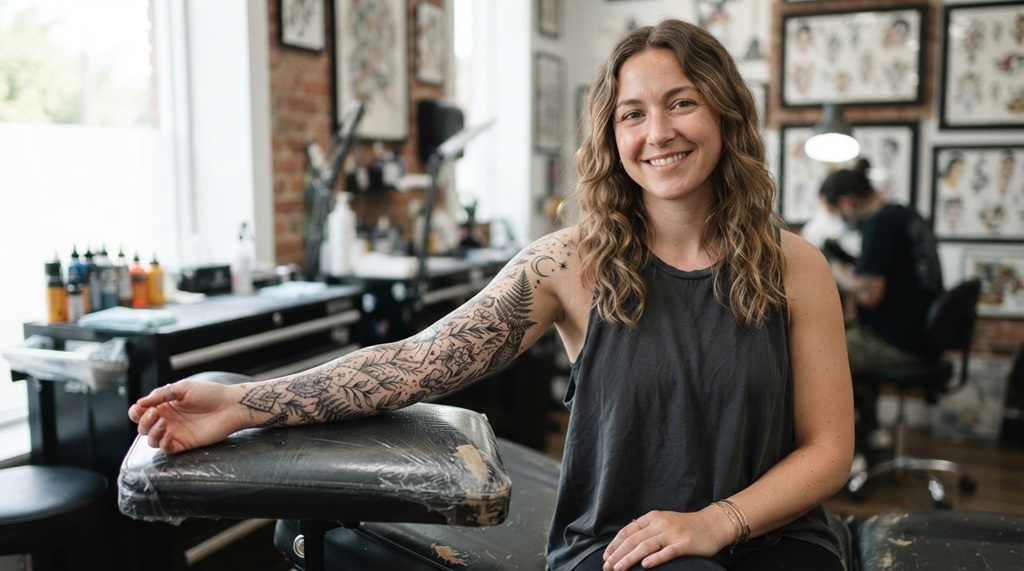
Getting the size wrong at the planning stage creates problems that are expensive and painful to fix later. Here are the mistakes that come up most often.
- Underestimating arm curvature. A flat design sketch doesn’t always translate cleanly onto a curved, three-dimensional arm.
- Ignoring the elbow zone. Designs that cross the elbow without a planned transition often look broken when the arm bends.
- Skipping the flexed-arm check. Always ask your artist how the design will look with your arm both straight and flexed.
- Rushing the consultation. A proper sleeve consultation takes time. If an artist wants to skip measurements and go straight to stenciling, that’s a warning sign.
- Forgetting future additions. If you might want to extend a quarter sleeve into a half or full sleeve later, mention this upfront so the artist leaves room for it in the flow.
One Overlooked Tip: Measure in Different Body Positions
Most guides only tell you to measure your arm while it hangs relaxed at your side. But your arm’s shape changes a lot between hanging, bent at 90 degrees, and fully flexed. If your artist only measures one position, the finished design may look great when your arm is still but stretch oddly when you move.
Ask your artist to check proportions in at least two positions: fully relaxed and bent at the elbow. This small extra step catches distortion problems before they get inked instead of after, when the only fix is a cover-up or heavy touch-up work.
Frequently Asked Questions
How long does it take to plan a full sleeve tattoo?
Planning a full sleeve typically takes one to three consultations before the first session starts. This time goes toward measurements, flow sketches, and design revisions. Complex custom pieces can take longer if multiple concept rounds are needed.
Can I turn a half sleeve into a full sleeve later?
Yes, this is common, but it works best when you mention the possibility during the original design phase. Telling your artist upfront lets them leave visual space and flow direction open for a future extension, rather than creating a design that looks finished and hard to build onto.
Does arm size affect how much a sleeve costs?
Yes, larger arms generally need more ink, more detail, and more session time, which increases the total cost. Pricing also depends on the artist’s hourly rate and the design’s complexity, so get a specific quote during your consultation.
What’s the ideal age or body condition for getting a sleeve?
There’s no single “ideal” condition, but skin that isn’t stretched by rapid muscle or weight changes tends to hold detail better long-term. If you’re planning major body changes, like significant muscle gain, mention this to your artist so they can plan the design with future growth in mind.
Should I measure my own arm or let the artist do it?
Let your artist take the final measurements during your consultation, since they know how to account for skin stretch and positioning. You can take rough measurements at home to get a general size estimate before that meeting, but treat those numbers as a starting point, not the final word.
Conclusion
Measuring your arm correctly and planning body flow are the two most important steps before any sleeve tattoo begins. Skip either one, and even beautiful artwork can end up looking disconnected or distorted once it’s actually on your skin. Take accurate measurements, account for how your arm moves and bends, and work with an artist who treats these details as seriously as the artwork itself. That groundwork is what separates a sleeve that looks stunning for decades from one that just looks stuck on.