

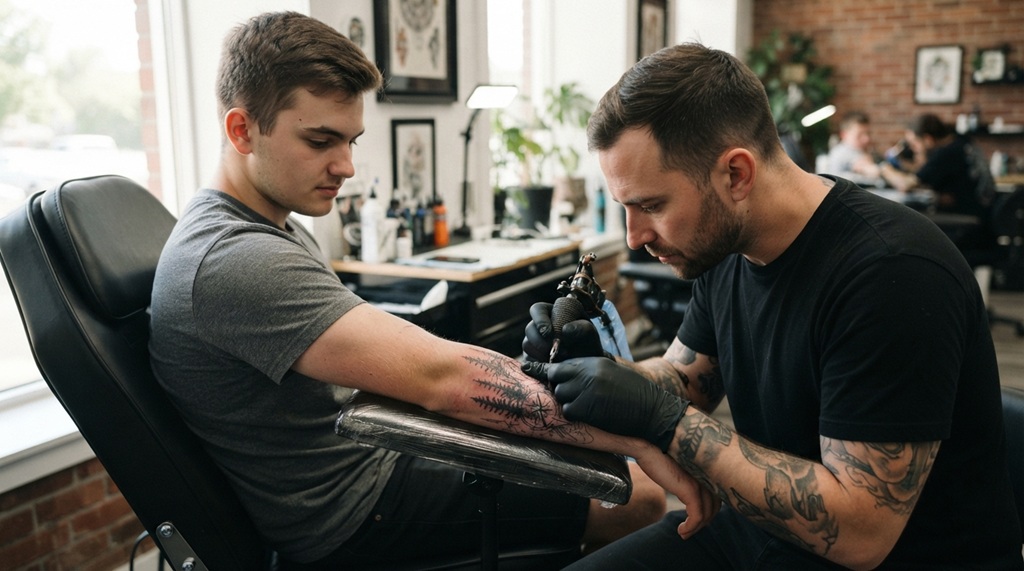

Tattoo pain gets worse in certain spots. Ribs, spine, inner arms, and feet hurt more because the skin there is thin and full of nerves. You can manage that pain. The right prep, a smart numbing strategy, and good pain-management habits during your session make a real difference.
This guide breaks down exactly what to do before, during, and after your tattoo. It focuses on the body’s most sensitive zones, since that’s where most people struggle. You’ll get practical tips, not vague advice like “just breathe through it.”
Whether this is your first tattoo or your fifteenth, sensitive-area sessions call for extra planning. Let’s get into what actually helps.
Why Some Areas Hurt More Than Others
Pain levels depend on nerve density, skin thickness, and how close the area sits to bone. Areas with thin skin and little muscle padding, like ribs or ankles, send sharper pain signals. Areas with more fat and muscle, like outer thighs or upper arms, tend to hurt less.
How close the area sits to bone matters too. When a tattoo needle works directly over bone, like on the spine, sternum, or collarbone, the vibration and pressure feel more intense. There’s no soft tissue to soften the feeling.
The Most Sensitive Areas, Ranked
Based on tattoo artist consensus and pain-scale surveys shared across the tattoo community, these areas tend to rank highest for pain:
- Ribs and sternum
- Spine and lower back
- Inner arm and armpit
- Feet, ankles, and toes
- Hands and fingers
- Head, neck, and behind the ear
- Inner thigh and groin area
Everyone’s pain tolerance differs. Someone with a high pain threshold might barely notice a rib tattoo, while another person finds their forearm unbearable. Use this list as a general guide, not a guarantee.
How to Prepare Your Body Before the Session
Your body handles pain better when it’s well-rested, fed, and hydrated. Preparation starts days before you sit in the chair, not the morning of.
Sleep and Hydration
Get a full night’s sleep before your appointment. A tired body produces more cortisol, and higher cortisol levels make pain feel more intense. Drink plenty of water in the days leading up to your session too. Hydrated skin is more elastic, which helps the needle glide smoother and may reduce trauma to the area.
Eat a Real Meal
Never sit down for a tattoo on an empty stomach. Low blood sugar increases your chances of feeling lightheaded, dizzy, or even fainting during a long session. Eat a balanced meal with protein and complex carbs about one to two hours before your appointment.
Skip Alcohol and Blood Thinners
Avoid alcohol for at least 24 hours before your session. Alcohol thins your blood, which leads to more bleeding, longer healing time, and can make you feel pain more sharply. Skip aspirin, ibuprofen, and other blood-thinning medications too, unless your doctor says otherwise. Acetaminophen (Tylenol) is generally a safer choice if you need something for pain before the session.
Numbing Options: What Actually Works
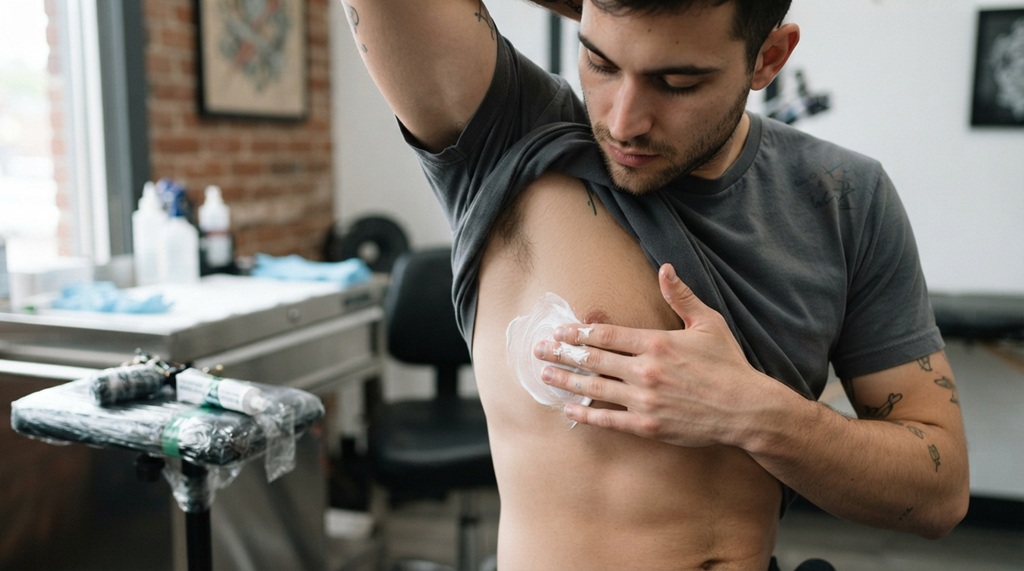
Topical numbing creams can reduce pain for sensitive-area tattoos. They work best when you apply them correctly and pair them with other strategies.
Topical Numbing Creams
Look for creams with lidocaine as the active ingredient. Apply the cream to clean, dry skin about 30-45 minutes before your appointment, then cover it with plastic wrap to help it absorb. Many tattoo artists allow numbing cream, but some don’t because it changes skin texture. Always ask your artist before you show up with product already applied.
Numbing Sprays for Mid-Session Relief
Some artists use secondary numbing sprays during longer sessions, especially once they finish the outline and start shading. These sprays work faster than creams but wear off quicker too. They’re most useful for breaking up a long sitting into more tolerable stretches.
What to Avoid
Skip products with high concentrations of benzocaine. Industry experts link them to a rare but serious blood condition called methemoglobinemia. Also avoid ice directly on the skin right before tattooing. Ice numbs the area, but it also tightens the skin. That makes the tattooing process harder for your artist and can affect how well the ink sets.
Mastering In-Session Comfort on Sensitive Spots
Your mindset and physical posture dictate your pain tolerance just as much as any topical preparation. During a session on high-sensitivity areas like the ribs, inner bicep, or throat, maintaining deep, rhythmic breathing prevents your muscles from tensing up, which significantly mitigates the sharp intensity of the needle. Communicate openly with your artist to adjust your positioning whenever necessary a slight tilt or body support tweak can instantly alleviate localized strain, ensuring your body stays relaxed and receptive throughout the appointment. Once your session wraps up, protecting your investment requires the same intentional care; for step-by-step recovery tips, read our comprehensive guide on heal a new tattoo fast without scabbing or fading.
Breathing Techniques
Slow, controlled breathing lowers your heart rate and helps your nervous system stay calmer under stress. Try breathing in for four counts, holding for four, then exhaling for four. This isn’t just relaxation talk. It’s a technique used in pain management clinics for a reason.
Distraction Actually Reduces Perceived Pain
Your brain can only process so much sensory input at once. Listening to music, a podcast, or chatting with your artist pulls attention away from the needle. Bring headphones. Many studios allow you to plug into your phone during long sessions, and this small habit genuinely helps pass the time.
Break Up Long Sessions
For large pieces on sensitive areas, ask your artist about scheduling multiple shorter sessions instead of one marathon sitting. Splitting a four-hour rib piece into two two-hour sessions often feels far more manageable than pushing through in one go. Most artists are happy to split sessions, especially for high-pain zones.
Communicate With Your Artist
Tell your artist immediately if the pain becomes unmanageable, not after you’ve already gritted your teeth through ten more minutes. Good artists build in short breaks and adjust their technique based on your feedback. Silence doesn’t earn you a badge of honor. It just makes the session harder for everyone.
Aftercare Tips That Reduce Lingering Discomfort
Pain doesn’t stop the moment you leave the studio, especially in high-friction areas like ribs, feet, or hands.
Keep the area clean, and moisturize it with a fragrance-free lotion your artist recommends. Avoid tight clothing that rubs against the fresh tattoo, particularly for rib or underarm placements. Loose, breathable fabric reduces irritation during the healing process.
Sleep position matters too. If your tattoo sits on your side, back, or ribs, try to avoid direct pressure on it while you sleep. Stick to this for the first few nights. A body pillow can help you maintain an awkward-but-necessary sleep angle.
Watch for signs of infection, including excessive redness, warmth, swelling, or pus. Normal healing soreness fades within a few days. Anything that gets worse instead of better deserves a call to your artist or a doctor.
An Angle Most Guides Skip: Matching Placement to Your Pain Tolerance
Most articles rank body parts by pain and stop there. But there’s a smarter move: plan your tattoo’s placement around your actual pain tolerance and life circumstances, not just artistic preference.
Say you have low pain tolerance and this is your first big piece. Consider starting with a smaller design in a less sensitive spot, even if you originally wanted a rib piece. Build confidence and a relationship with an artist first. You can always add the harder placement later once you know what your body can handle.
Also consider your daily life. A hand or finger tattoo heals fast in terms of skin sensation, but it faces constant friction from typing, washing dishes, and gripping objects. That ongoing irritation during healing can feel more draining than the tattoo session itself. Factor in your job and daily habits, not just your pain threshold, when picking a sensitive placement.
Frequently Asked Questions
How long does tattoo pain from sensitive areas usually last?
The sharp, needle-related pain stops as soon as the session ends. Soreness and tenderness in the skin typically last three to five days. High-friction areas like ribs or feet may stay tender for up to a week. If pain increases after day three instead of fading, check in with your artist.
Is numbing cream safe to use for tattoos?
Yes, most experts consider lidocaine-based numbing creams safe when you use them as directed and get your artist’s approval beforehand. Avoid high-concentration benzocaine products, and never apply numbing cream to broken or irritated skin. Always do a patch test a few days before your appointment to rule out an allergic reaction.
Which hurts more, the outline or the shading?
This varies by person and by placement, but many people report the outline hurts more because it involves sharper, more defined needle strokes. Shading can feel like a duller, more repetitive ache in comparison. On bony or thin-skin areas, both stages tend to feel more intense than they would elsewhere.
Can I take painkillers before getting a tattoo?
Most experts consider acetaminophen (Tylenol) a safer option before a tattoo session. Avoid aspirin, ibuprofen, and other NSAIDs, since they thin your blood and can increase bleeding during the session. Always check with your doctor first if you take regular medication or have any health conditions.
Should I eat before getting a tattoo on a sensitive area?
Yes, always eat a full meal one to two hours before your appointment. Low blood sugar makes pain feel worse and raises your risk of feeling dizzy or fainting, especially during longer sessions on painful areas. Bring a snack too, in case your session runs longer than expected.
Final Thoughts
Sensitive-area tattoos hurt more, but that pain is manageable with the right approach. Sleep well, eat before your session, and skip alcohol and blood thinners beforehand. Talk to your artist about numbing options and break up long sessions when possible.
Your body and your artist are both on your team during this process. Prepare well, communicate honestly, and you’ll get through even the toughest placements with a tattoo you’re proud of.